Love, laugh, live, that’s what our friends teach us in every walk of our life. Life seems boring without friends, isn’t it?
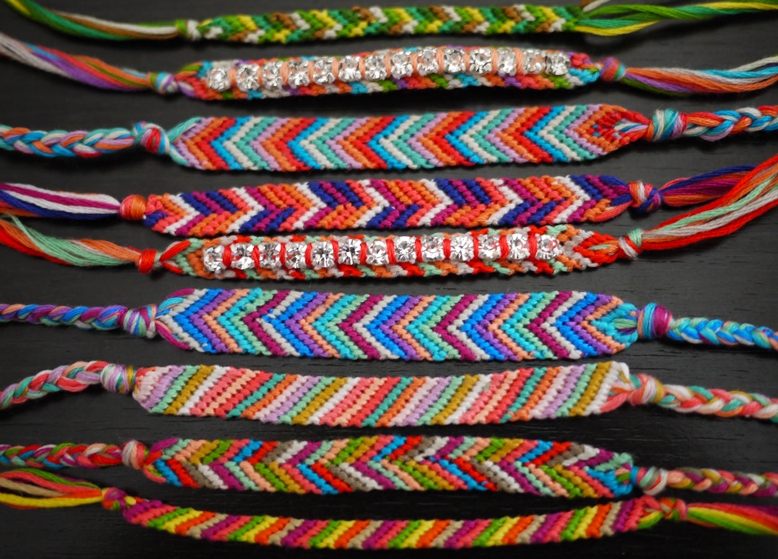
Make this Friendship Day imprinted in your buddy’s mind with this DIY friendship day band making guide, but before that let’s talk about friendship brands or bracelets.
A friendship band is knitted band or bracelet that people tie around their buddy’s hand as a symbol of their friendship.
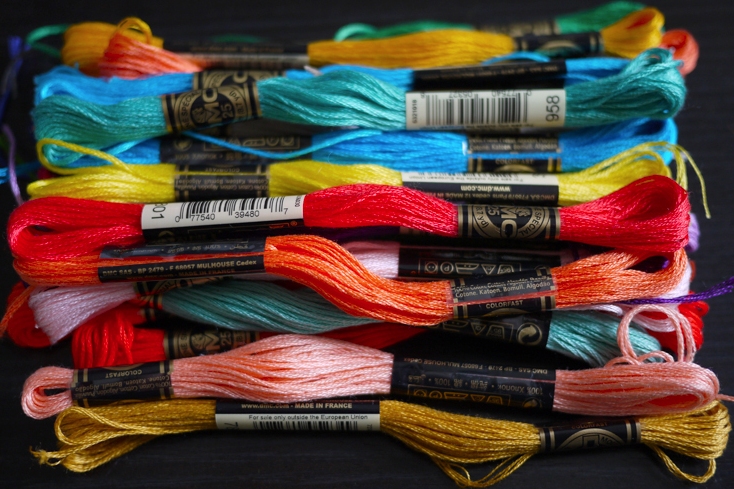
To make a band for your friend you’ll need:
• Embroidery threads
• A safety pin or tape
• Scissors
Method:
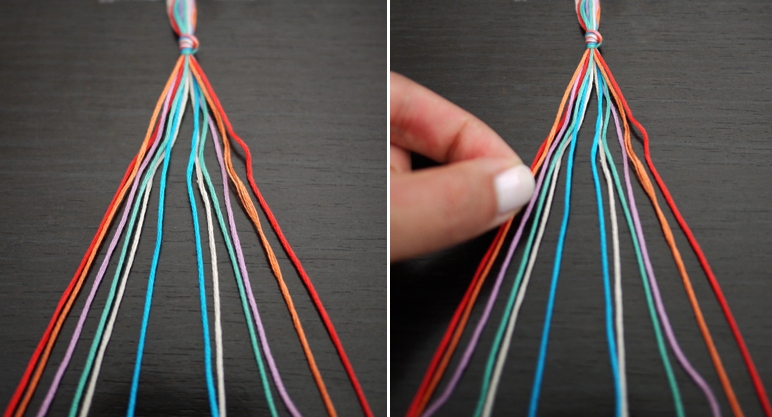
1- Cut about 24 inches long strands of embroidery thread. Take 2 sets of each colour. Take the threads & tie a knot from one side leaving at least 3 inches of slack from the top. Tape the threads to a flat surface or pin it to a pillow using a safety pin. Now divide the two sets, arranging the threads in a mirror-image type with the outside string the same color & so on arranging inward.
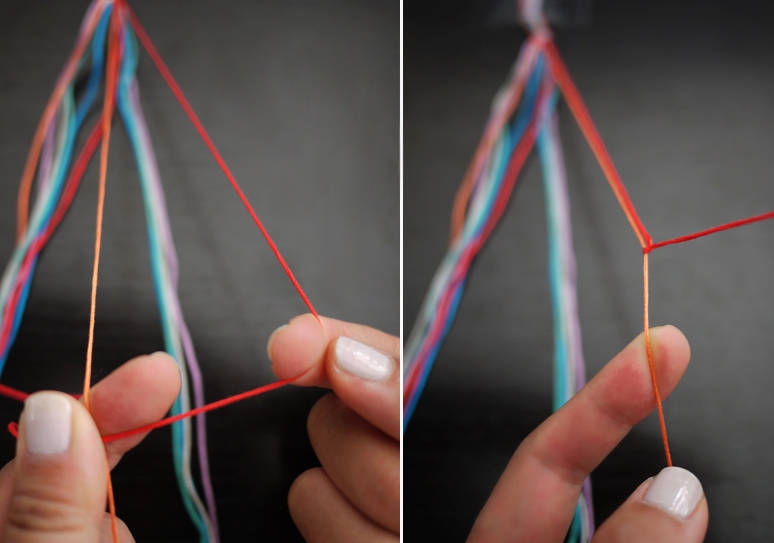
2- Start on the left with the exterior color (as shown in image red) & make a forward loop by making a 4-shape over the second color, knot it under & back through the gap or the opening.
3- In order to tighten the knot, pull up and to the right. Make the similar loop twice one over another color. Continue lopping over every color, towards the right side, until the outermost color has come over to the center. This is basically the one-half of the chevron pattern.
4- Now pick up the outmost color on the right hand side (red) and make a backward loop, forming a reverse 4-shape over the second color, knot it under & back all through the gap or the opening. Again pull up & to the left to tighten the knot. Don’t forget to tie twice over every color.
5- Continue tying towards the left until again the outermost string reaches the center. Tie a backward loop with the two middle strings to connect the two –halves. Don’t forget to knot twice. Now the first chevron row is made. Continue the same process with the next color that is now the outermost string.
Note: Remembering color order is significant for the first few rows but after the third and fourth row. The string will fall nicely in order. Complete it with a loop and a braid.
Sakshi Ecavade is our in-house content developer having a good understanding about the gifting industry. She creates quality content surrounding flowers, chocolates, plants, cakes, and other products which makes excellent gifts for the people. Accurate and authentic information is what she tries to deliver through her blogs.


