Rangoli making is an art and it needs you to be adept at certain aspects!! There are experts who can add on to the vibrancy of the home with the creative way of making Rangoli. Nevertheless,those who are not that adept at the art need not to worry because we are basically focusing on the naive and beginners who need help while making Rangoli.
We will discuss it step by step so as to make it easy for you. Let's find out how your Rangoli can look like an art exhibited by an expert even if you are not that skilled at it:
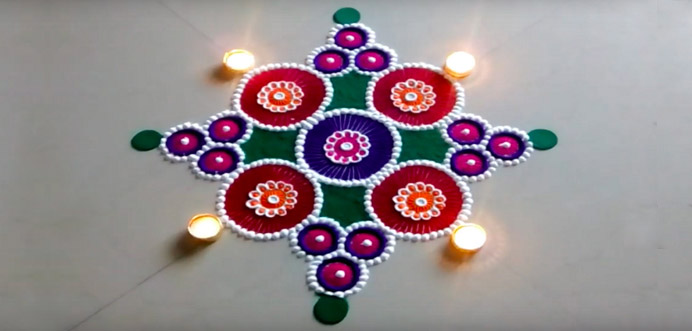
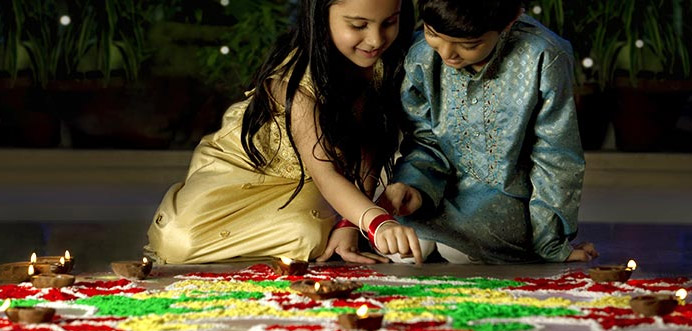
This is very important as you need to know beforehand, how you are going to proceed! This way you will be able to choose a design that suits to your artistic creativity. Explore a bit and find out something that is easy to make and charming to look at.
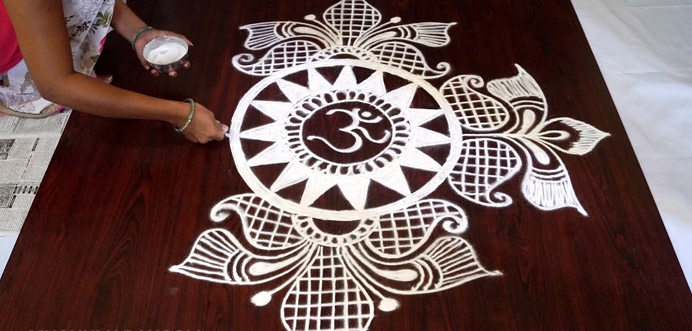
It is important to figure out where you are going to draw the Rangoli design. This can be decided according to the size of the Rangoli you have chosen. There are two options:
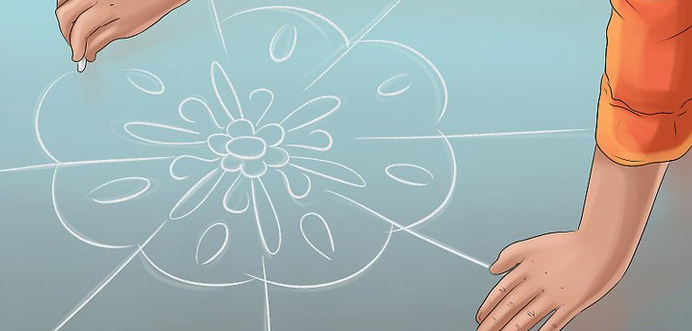
It will be better if you can practice the Rangoli design on a white paper till you get well-acquainted with it and confident enough that you can easily draw it on the ground.Alternatively, if you are planning to make the design on a black paper, you can practice the same on to the black paper before Diwali.
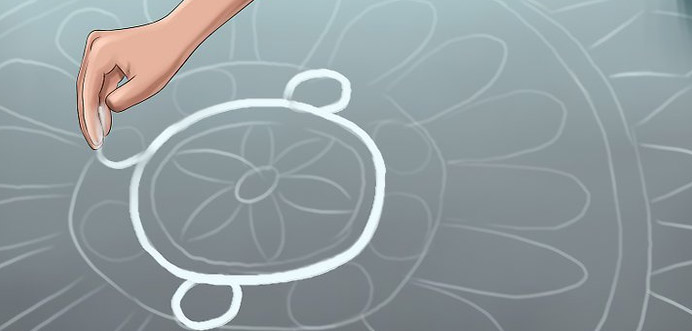
If you are making the Rangoli design on to the floor then you will definitely need to draw the outlining using a chalk. Take a white chalk and draw the basic outlining with the help of a light white chalk so that at the end, there isn't any confusion.
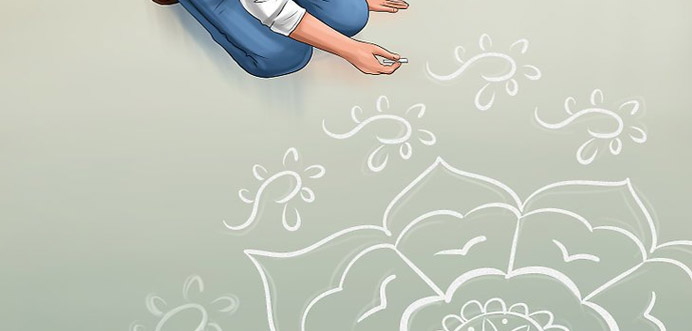
Thicken the Rangoli outline with chalk as this will give finished look to the design and will look completely beautiful. Though, experts may skip this step but for beginners it is important as it gives clarity of the design. It has already been drawn; you just need to darken this outline with one more layer of chalk. In addition to that, using white colour also is symbol of peace and purity!!
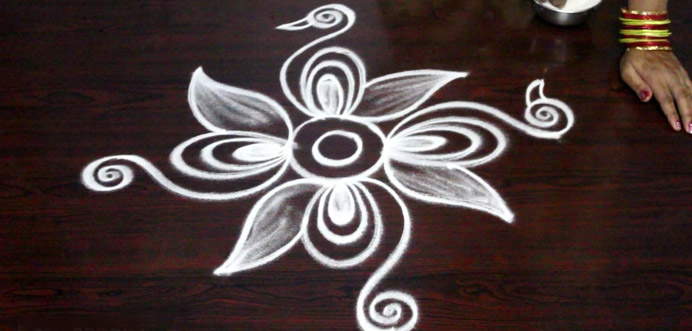
If it is being done on a black paper then you will need a surface where the Rangoli colours can stick to! You can use some cooking oil for this. Don't dip the entire paper into the cooking oil, just take a small amount of it on tip of your fingers and apply it allover the chalk outline. Repeat the same onto the inner layer of the chalk outlining.
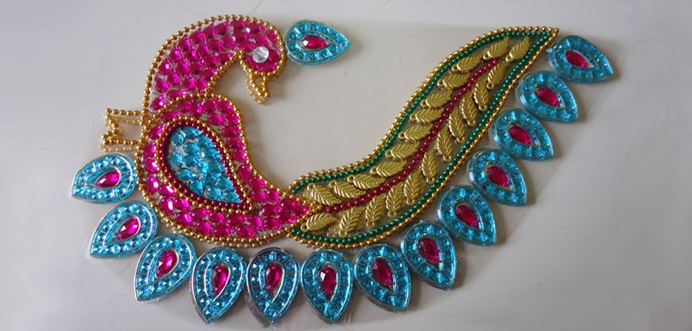
To give dimension to the outlining of your Rangoli, pour in white textured material on to the outlining. For this, it is better if you can use natural material like sand or rice. It is better to make a cone with the help of newspaper making a narrow hole at the tip of it. With this cone, pour in the white textured material onto the chalk outlining. Use your fingers as stopper to control the flow!
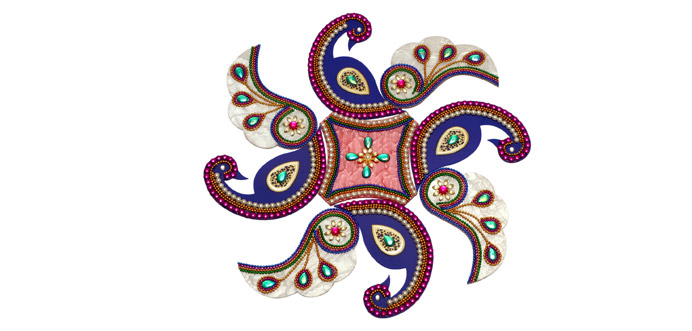
Rangoli can be filled up with any type of material; it may be the rangoli colours available in the market or it can be the spices and other materials available in your kitchen.
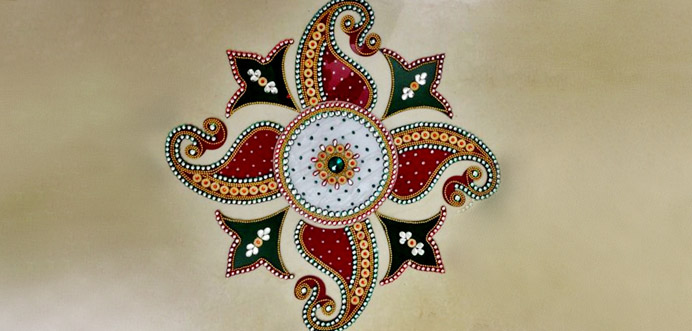
This part of Rangoli making isthe most fun!! Here you just have to use the paper cone or your fingers to fillyour Rangoli.
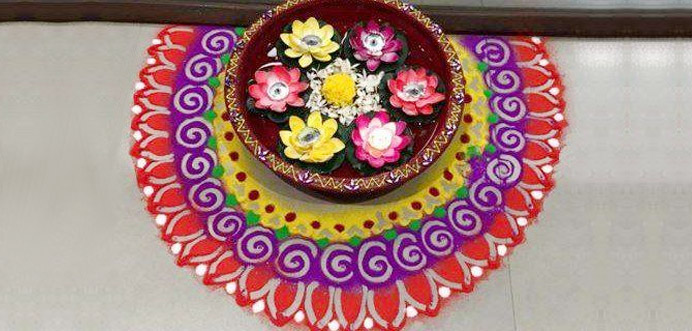
Now to give it more decorated look you can put some candles and Diyas and may be some pot-lanterns all around the Rangoli to give it aesthetically perfect look.
So, if you are new at making Rangoli, you can follow these steps to make a perfectly awesome looking Rangoli that will look like, if it has been made by a professional or an experienced person. For your convenience we are going to give you a few of the Rangoli design that you can take reference from.
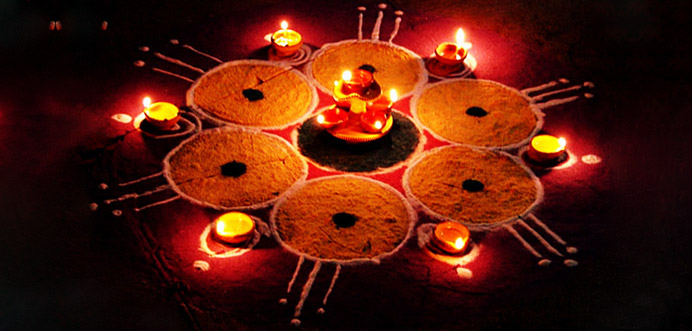
Some easy and beautiful Rangoli designs for you:


